滿港幣 800 元免運費
滿港幣 800 元免運費
滿港幣 800 元免運費
搜尋
|
繁體
|
登入
|
購物車 (
2
)
2
×
瀏覽所有產品
品牌
A80 Paris
Premier by Dead Sea
Gratiae
Hermetise
Mimi Luzon
Telosin
TMB
Tresure Rare
Apeiro
Aurarius
Gold Elements
頭髮產品
浏览所有产品
美发工具>
造型工具
捲髮器
風筒
梳子
髮飾
迷你造型工具
洗髮與護髮
洗髮精
護髮素
乾洗髮
頭髮護理
髮膜
美髮精華
美髮油
造型
熱保護
頭髮噴霧
美髮霜
美髮慕斯
髮膠與髮泥
質感
豐盈
護髮套裝
捲髮護理
頭皮護理
染髮劑
色彩護理
頭髮修復
護膚產品
護膚
清潔劑和去角質劑
洗面奶
爽膚水
臉部磨砂
卸妝清潔
保濕霜
日霜
晚霜
面部噴霧
頸肩霜
面部精華
防曬霜
保養護理
臉部護理
眼部護理
精華與肌底液
唇部護理
面膜
片狀面膜
泥面膜
潔凈面膜
補水面膜
去角質面膜
眼膜
唇膜
皮膚問題
暗瘡粉刺肌膚
乾燥/脫水肌膚
美白
油性肌膚
泛紅肌膚
敏感肌膚
配飾
飾品
頭髮
時裝
時尚單品
T 恤
手袋
生活單品
小型電器與飾品
文具
其他飾品
套裝
身體護理
沐浴與身體
身體保濕
身體乳
護膚油
沐浴與身體
沐浴露
肥皂
身體磨砂與去角質
手部與腿部
洗手與護理
護手霜
潔手液
美腿霜
香氛
沐浴與身體套裝
工具
工具
美容儀器
化妝掃
臉部化妝掃
眼部化妝掃
唇部化妝掃
多功能化妝掃
化妝掃套裝
化妝掃清潔劑
美髮造型工具
梳子
造型工具
VIPEXTRA club
關於 VIP EXTRA Club
服務
美髮造型服務
面部護理
額外照護
商店
獎勵
我的帳戶
雜誌
門市地址
English
登入 / 註冊
×
Price- ↑
Price- ↓
Title- ↑
Title- ↓
__PAGINATION__
__TITLE__
__PRICE__
SKU:__SKU__
Tags:__KEY_WORDS__
Product not found
__PAGINATION__
×
English
首頁
/
護膚
/
清潔劑和去角質劑
/
臉部磨砂
顯示單一結果
臉部磨砂
依熱銷度
依最新項目排序
依價格排序:低至高
依價格排序:高至低
Sort by sale
品牌
Premier by Dead Sea
(1)
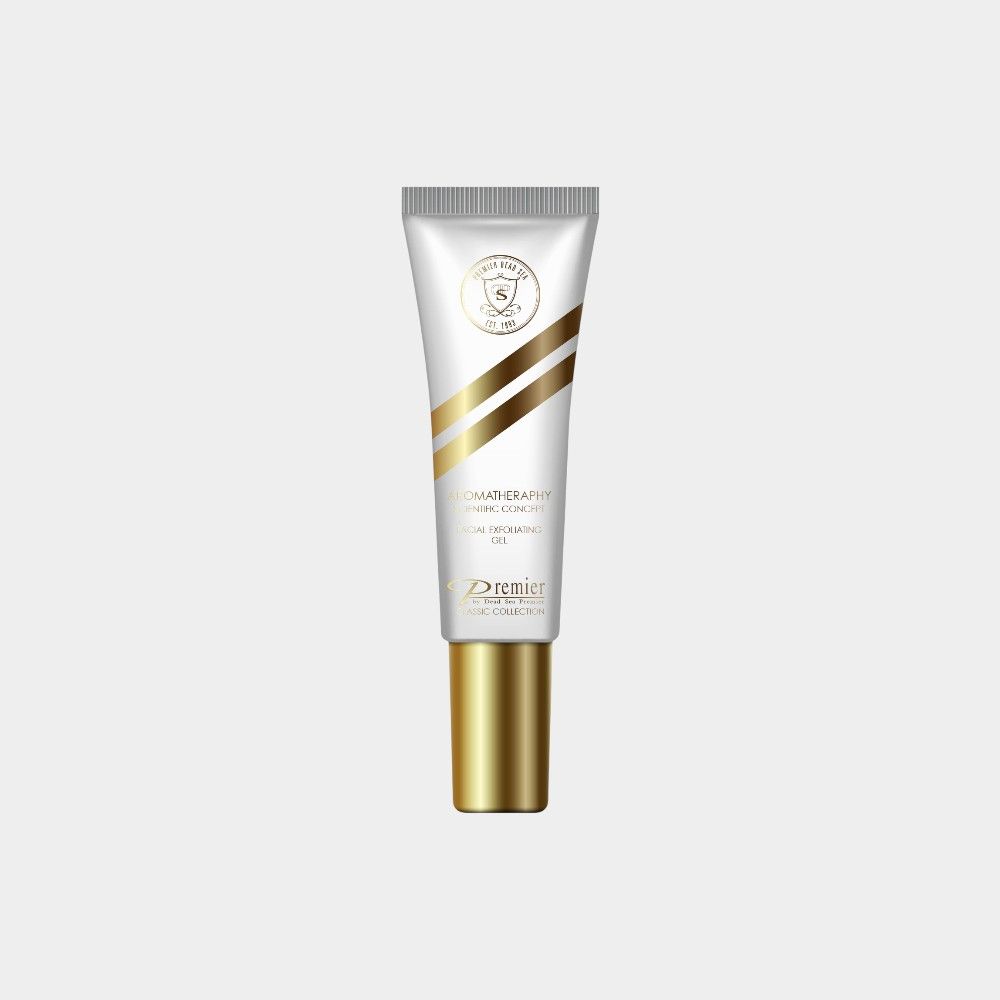
Premier by Dead Sea
平衡油脂分泌磨砂潔膚啫喱
HK$
45.00
加入購物車