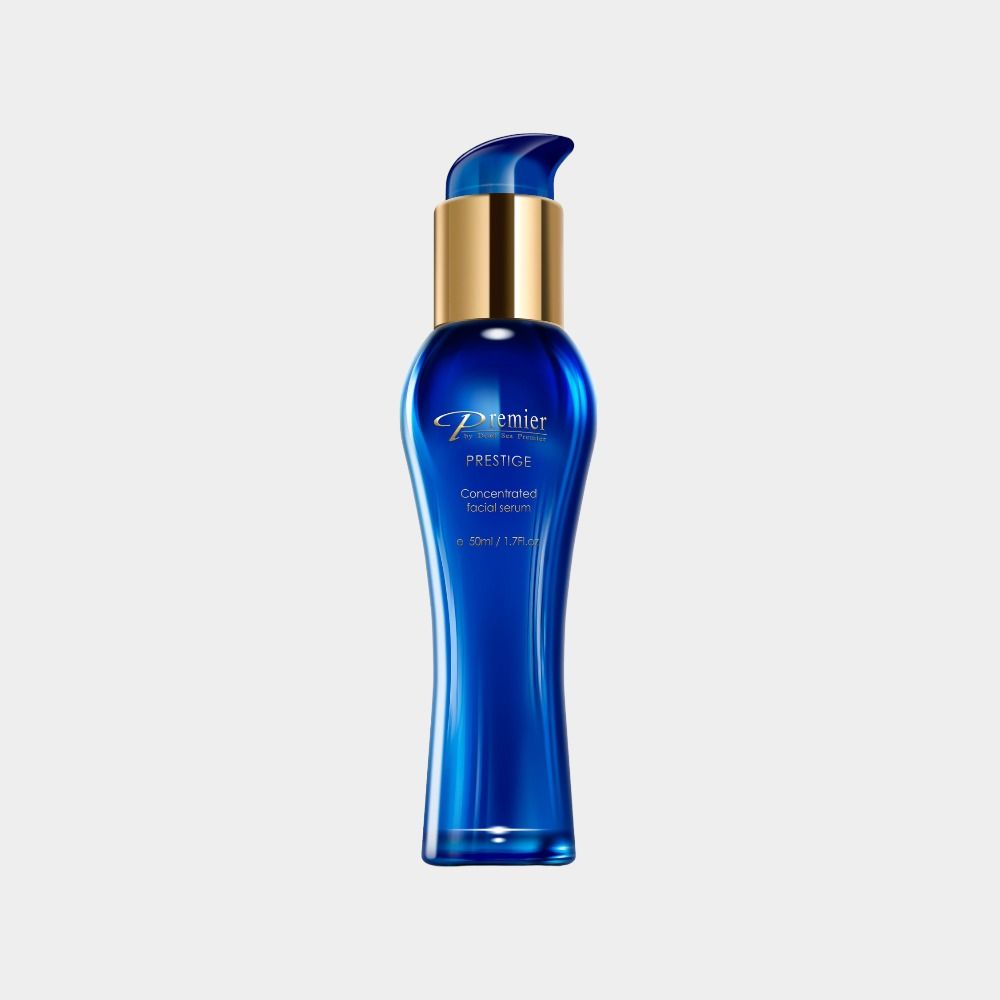
Premier by Dead Sea
If you use only one anti-ageing treatment, make it this vitamin-enriched serum. Antioxidants and fatty acids combine to nourish, protect, and perfect skin of any age.
HK$1,180.00
5 in stock
An antioxidant serum is a key weapon in any anti-ageing arsenal. PRESTIGE Concentrated Facial Serum with Vitamins C & E is packed with powerful nutrients that counteract free radicals and turn back the hands of time. This silky formula includes Retinol and Rose Hip Kernel Oil to perfect skin texture and correct sun damage and discolouration.Our concentrated elixir absorbs quickly to maximise effectiveness. With regular use of PRESTIGE Concentrated Facial Serum with Vitamins C & E, you’ll see brighter, tighter skin that feels velvety-smooth and looks remarkably younger. It’s everything you need in an anti-ageing serum.
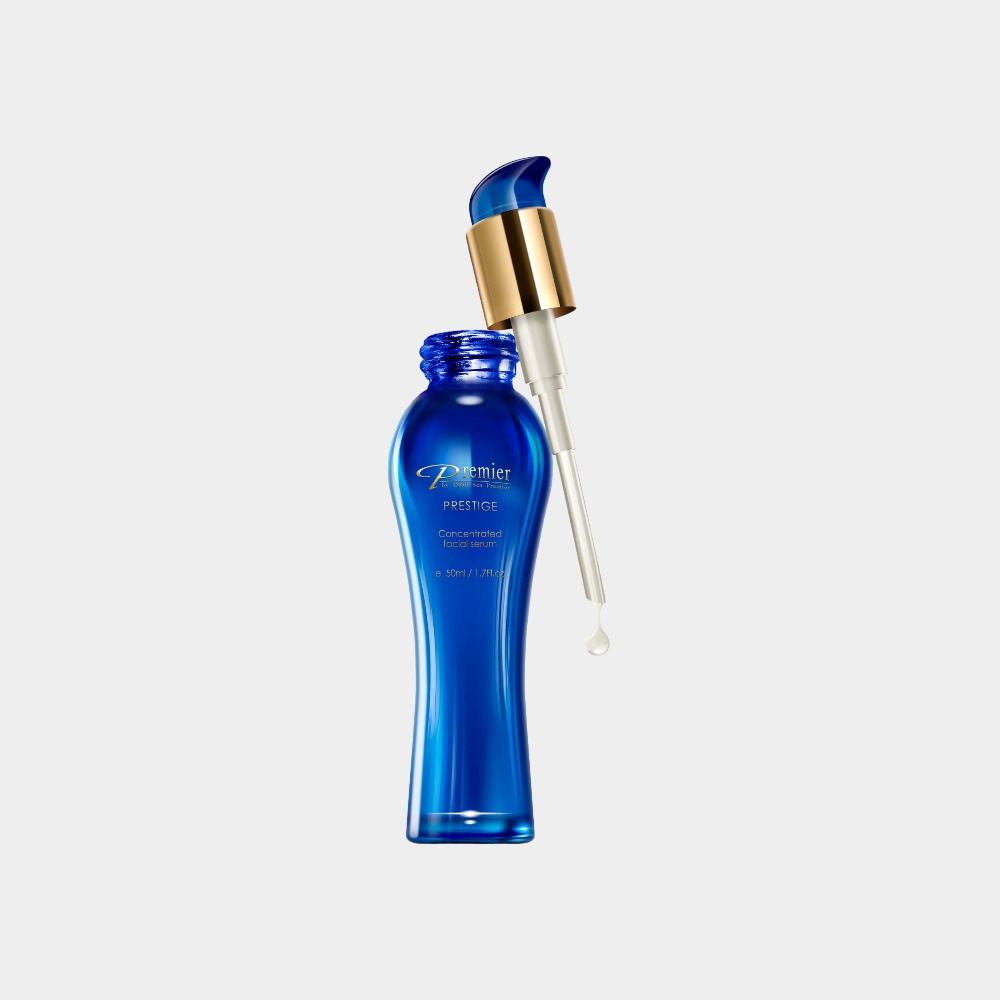
Wash face and pat dry. Dispense 1 full pump of serum onto your fingertips. Massage serum into your skin with upward strokes until completely absorbed. Finish with moisturiser. Use day and night. For day time, apply cream and sun block after. For night time, apply cream after.
Fades fine lines with continuous use
Quickly rehydrates skin
Lifts, firms, smooths, and perfects the skin
Removes dead skin cells
Detoxifies healthy cells
Boosts antioxidant defence systems
Protects skin from oxidative stress
Stimulates skin’s ability to repair and renew itself
Thank you for submitting a review!
Your input is very much appreciated. Share it with your friends so they can enjoy it too!
Great for a youthful complexion.
Noticeable improvement in skin tone.
Boosts radiance effectively.
Gives a healthy glow.
Highly recommend this serum.