__PRICE__
SKU:__SKU__
Tags:__KEY_WORDS__
Showing all 16 results
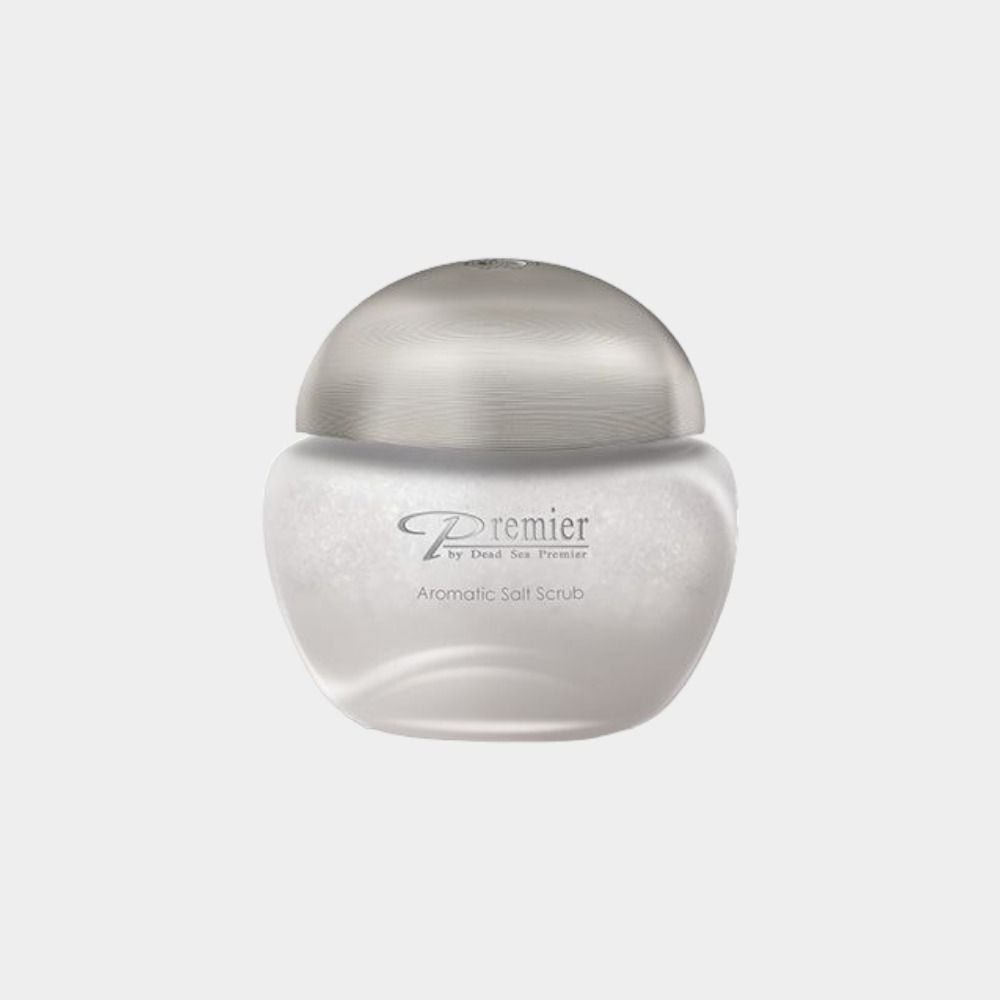
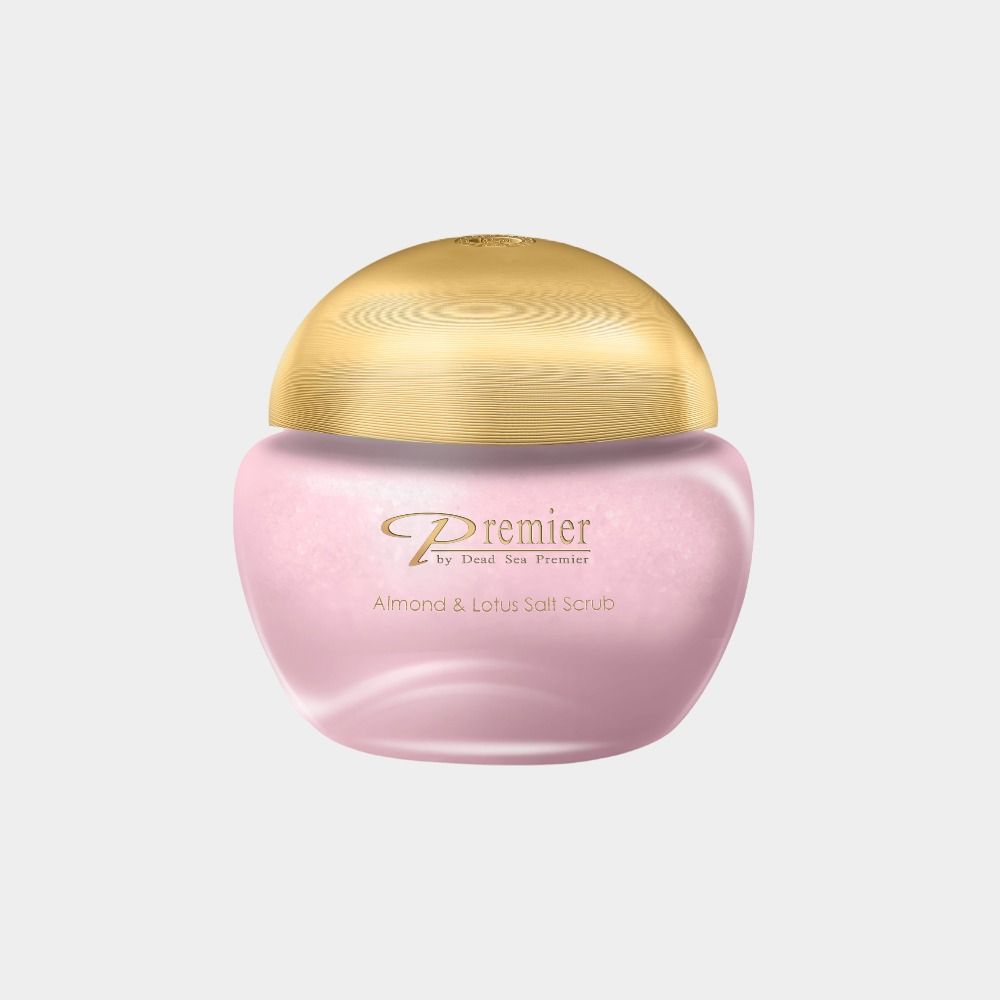
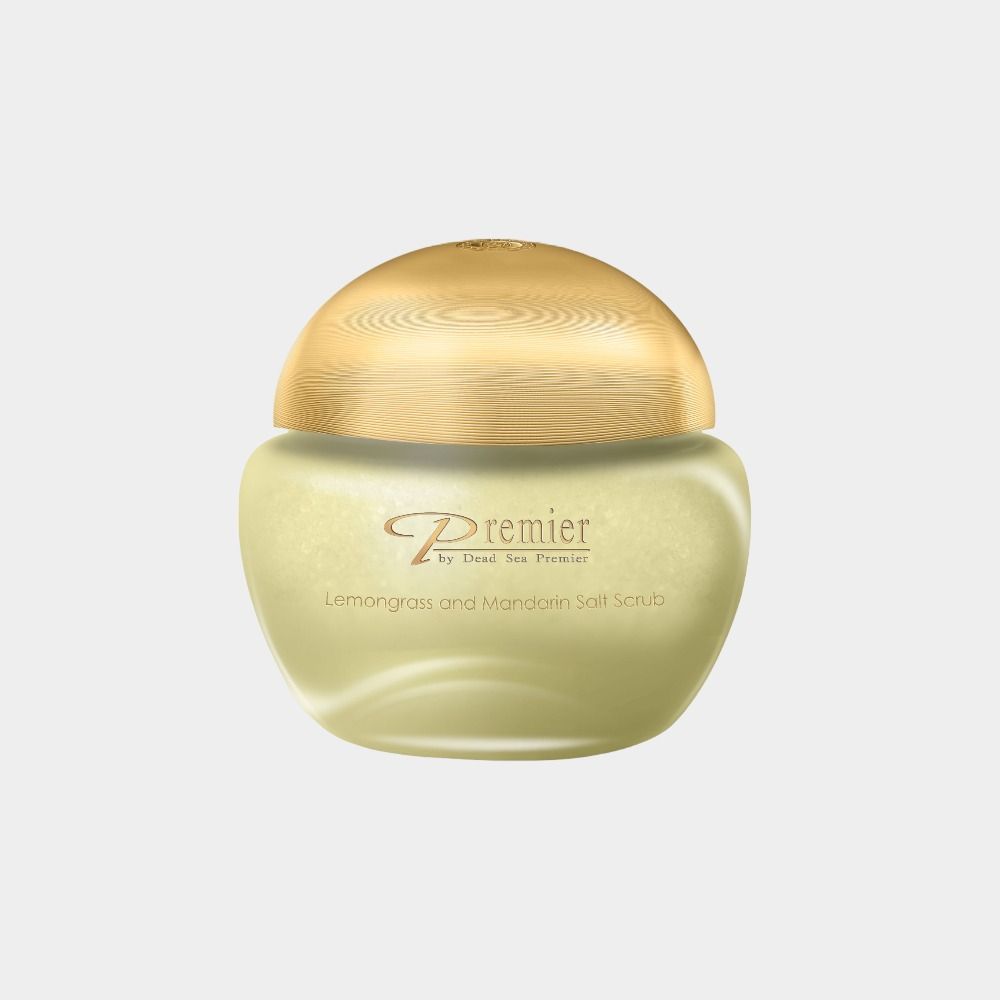
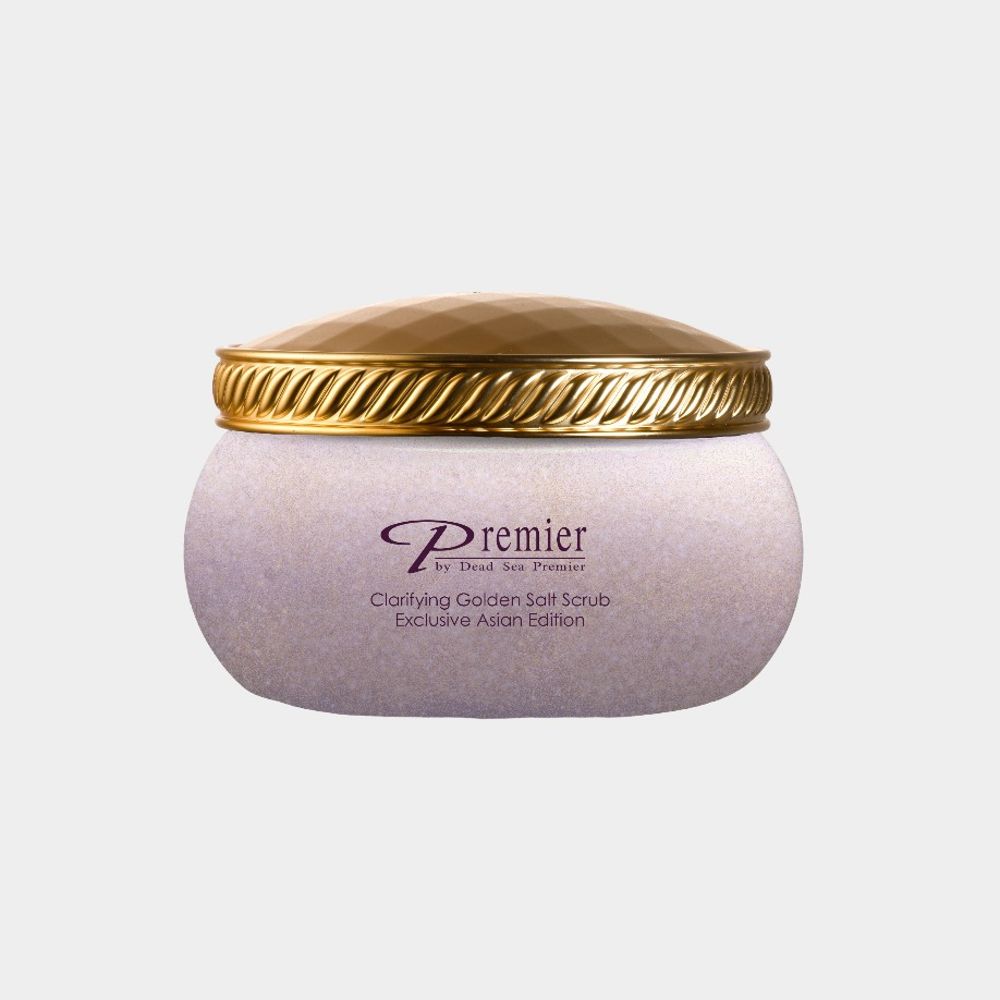
Premier by Dead Sea
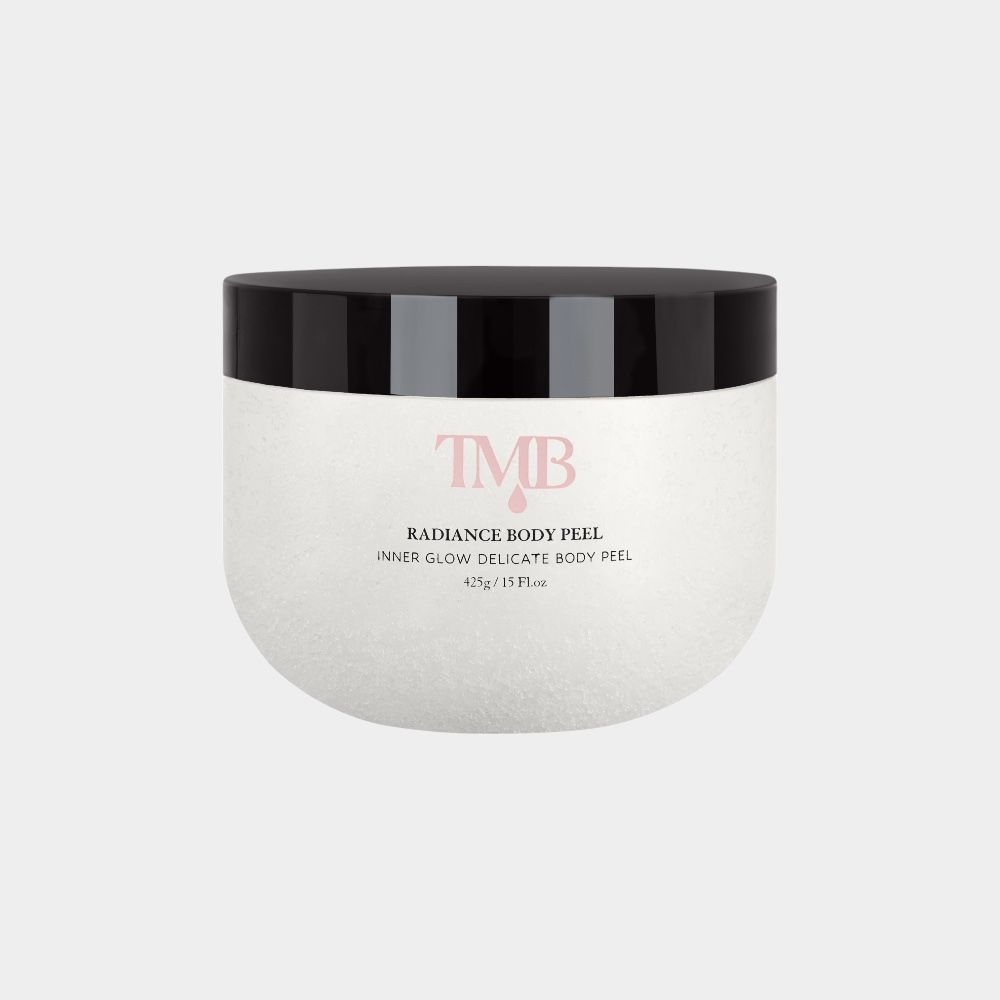
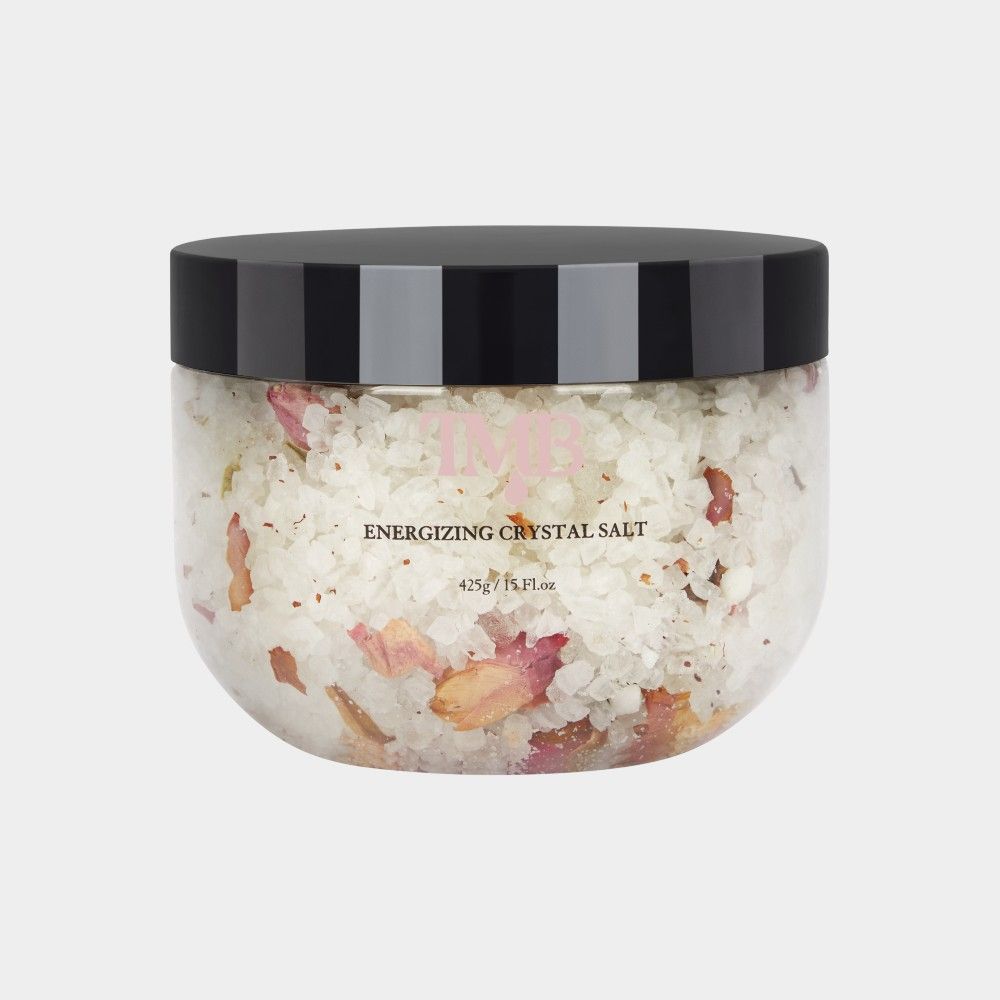
The Mineral Boutique
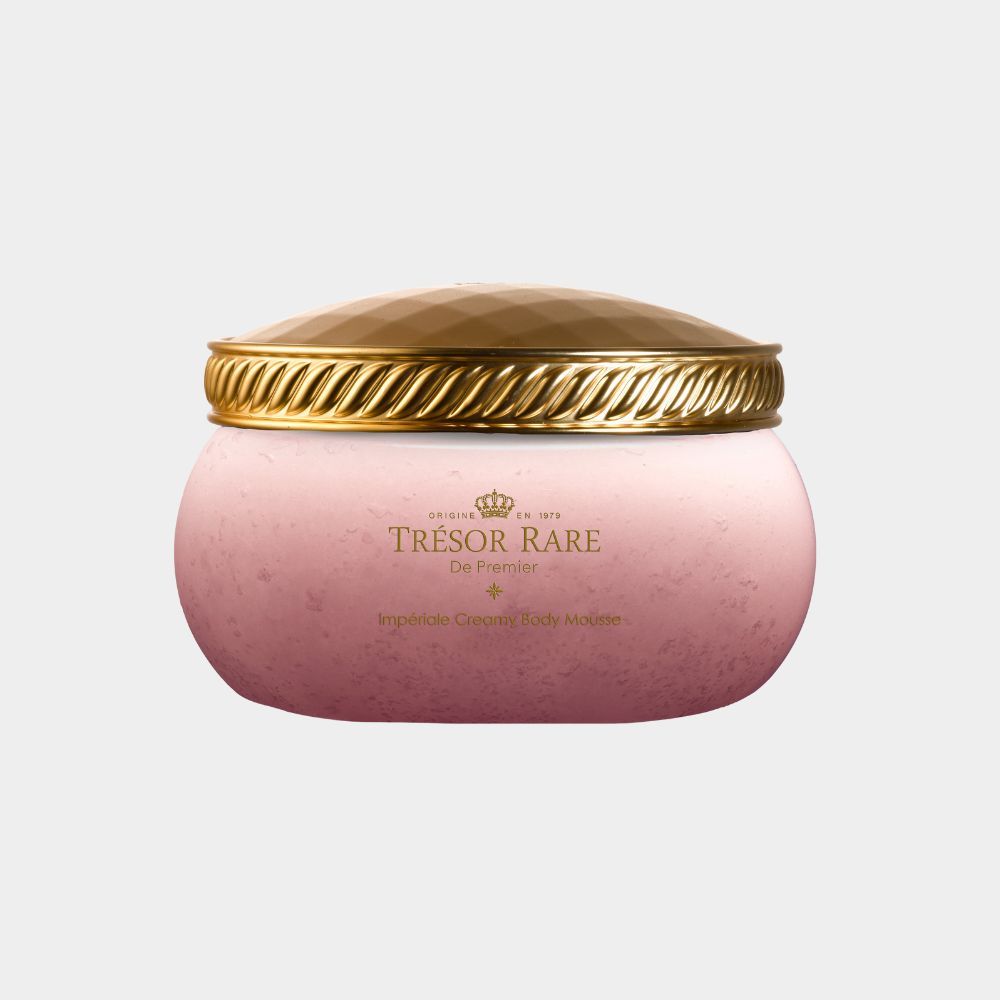
Tresure Rare
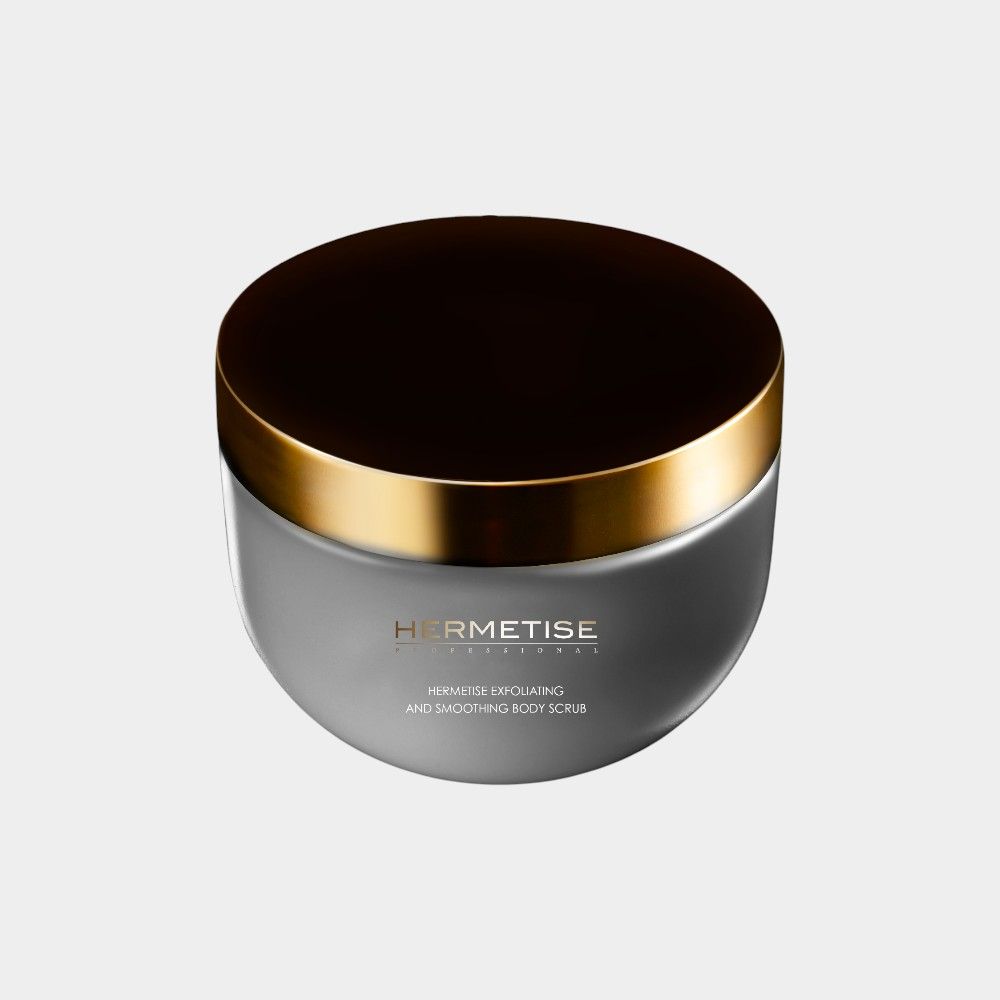
Hermetise
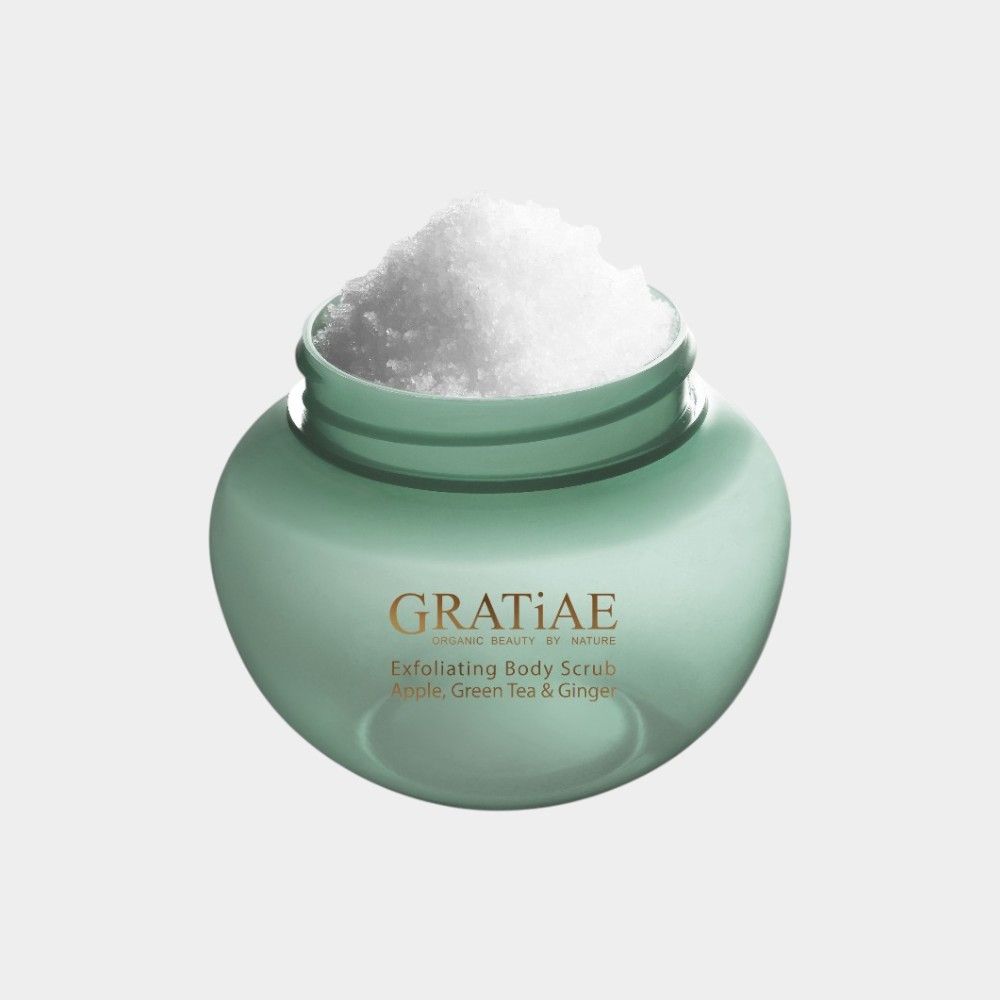
Gratiae
A80 PARIS
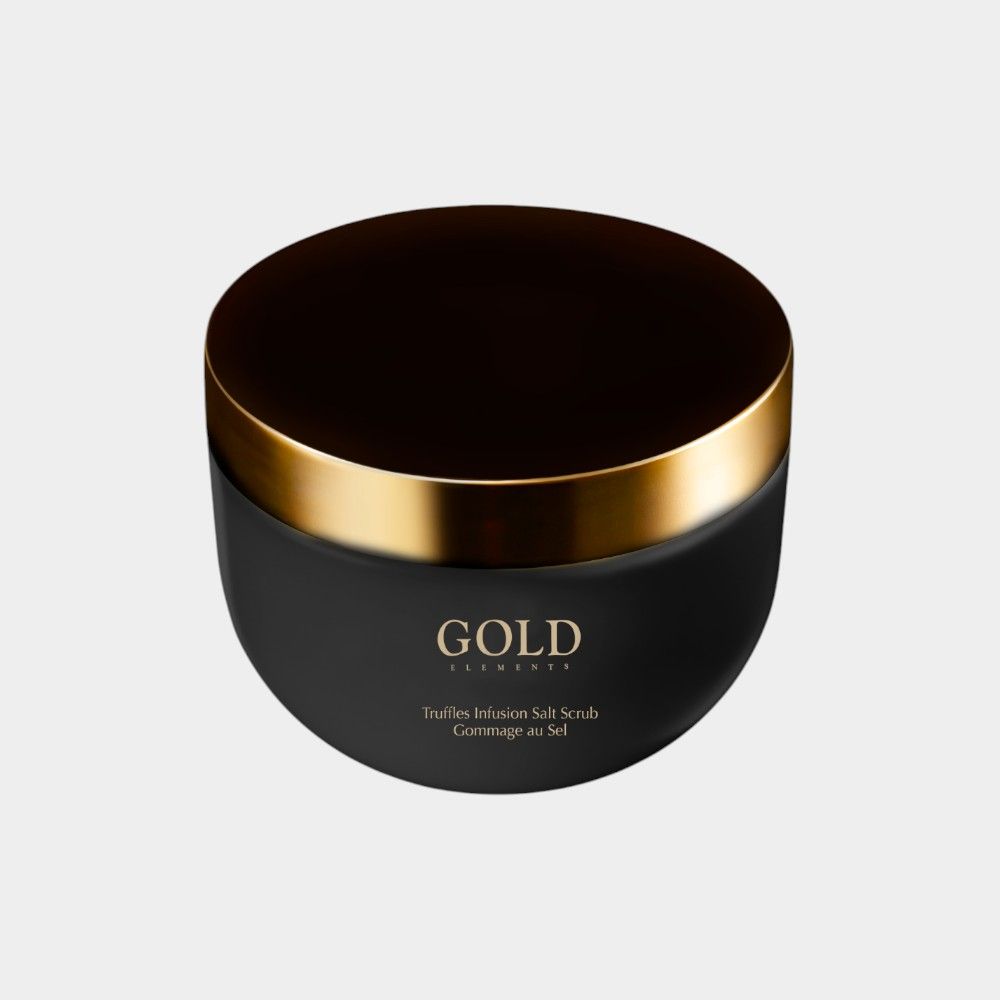
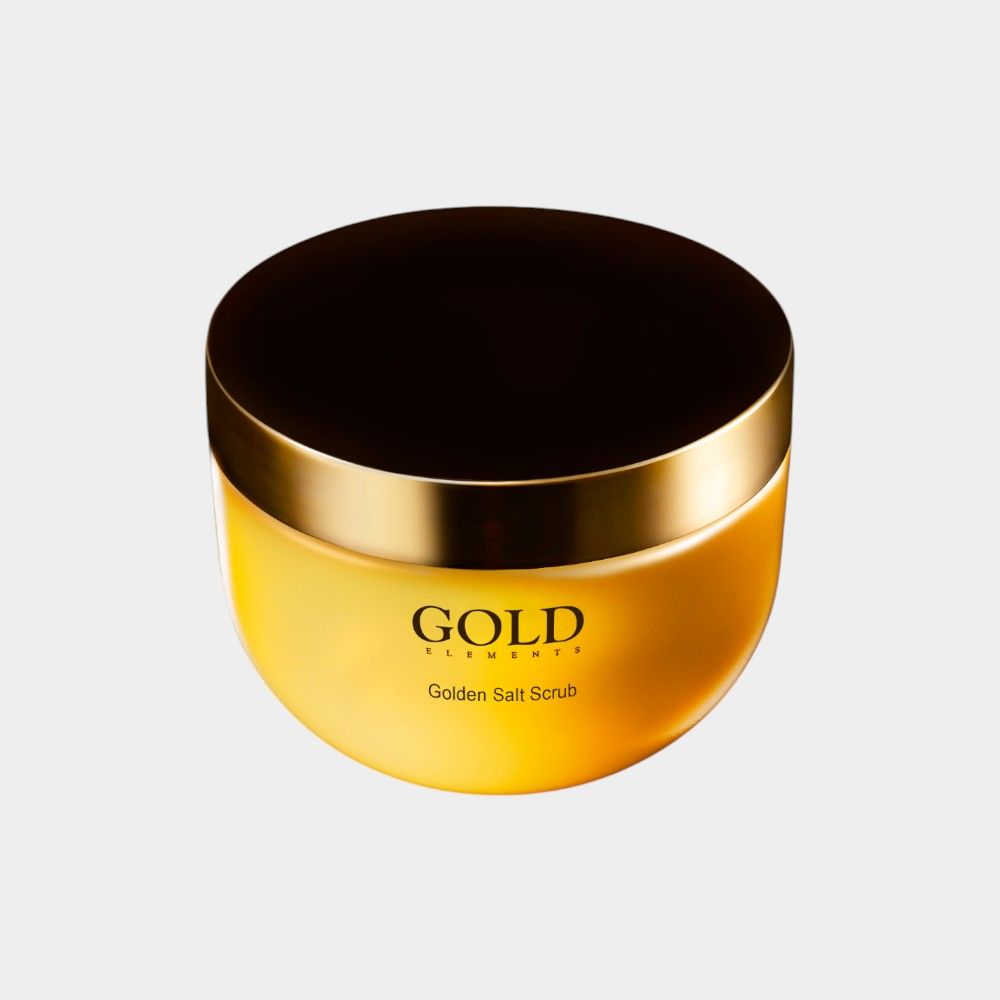
Gold Elements